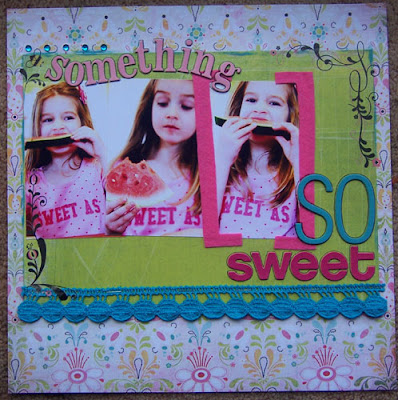
1. Crop your 3 photos to 12.5cm X 8cm.
 2. Pick out 1 patterned paper, which will be your base, and one co-ordinating plain paper/cardstock, for your photo mat. I have used two papers from the Basic Grey 'Urban Prairie' range.
 3. Crop your plain paper/card to 28cm X 20cm. Attach to your patterned paper base, with a space of approximately 4cm from the top edge.
 4. Arrange the 3 photos across the page, from the left side, but make them each slightly off-centre. Cut two straight edged brackets from felt and use these to frame the end photo on the right.
 5. Add your title. Here I've used a mixture of an American Crafts Vinyl Thickers, Collections Chipboard Alphabet painted in Making Memories paint and a Heidi Swapp Chipboard Alphabet.
 6. Embellish with ribbons, trims, doodling, rub-ons, stamping, jewels, brads or whatever you like, making sure that you leave a space for your journaling.
 7. Add your journaling and the date and you are finished!
 I hope you like it :-) Have fun!


No comments:
Post a Comment